GPS Altitude Accuracy: Barometric Calibration Fixes
By Marta Kovács • 15th Dec
When your GPS watch altitude accuracy drops during a critical ascent, it's not just inconvenient (it is a risk multiplier). A precise barometric altimeter calibration isn't about tracking summit stats; it's how you confirm you're on the right ridge when cloud cover hits. I've seen false elevation readings trigger unnecessary emergency signals and negligent descents into dead-end gullies. To understand which emergency tools actually work on your wrist, see our GPS watch safety features guide. In mountain navigation, a 50-foot error isn't a glitch (it's a decision point). This isn't marketing fluff; it's hours-per-gram math where sensor reliability directly impacts your safety margin. Let's implement fixes that work when satellite signals fade and weather systems shift.
7 Calibration Fixes for Reliable Mountain Elevation Data
1. Understand the Core Limitation: Barometers Measure Pressure, Not Altitude
Your barometric altimeter doesn't "know" your elevation (it calculates it from atmospheric pressure). This creates an inherent conflict: a weather front moving through looks identical to you gaining elevation. Without correction, drift of 50-100 feet within 12 hours is normal, as confirmed by field testing across multiple brands. Critical constraint: When barometric pressure drops 1 hPa, your watch thinks you've climbed 8 meters. During a typical storm, that's 10-20 hPa of drift (meaning your "elevation" could jump 80-160 meters without moving). This isn't a "bug"; it's physics. Always verify against known benchmarks before making navigation decisions. For a foundational refresher on satellite elevation and signal limits, read How GPS watches work.
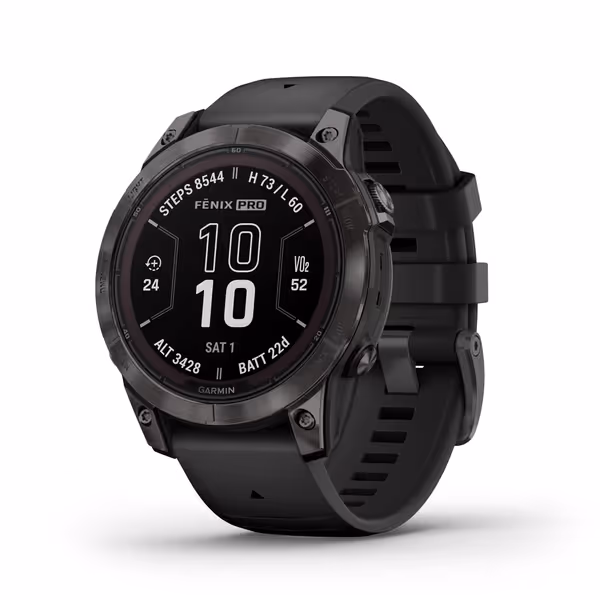
Garmin fēnix 7 Pro Sapphire Solar
Offline-first, solar-powered GPS watch for ultimate outdoor reliability.
$699.99
Battery Life (Smartwatch Mode)Weeks with solar charging
Battery Life (Smartwatch Mode)Weeks with solar charging
Pros
Precise multi-band GPS with SatIQ for challenging terrain.
Solar charging and durable Power Sapphire lens for extended use.
Comprehensive health, training, and recovery insights.
Built-in LED flashlight for safety and convenience.
Cons
High price point for some users.
Customers find this smartwatch to be the most amazing Garmin ever made, with excellent durability and battery life that lasts 25 days between charges.
Customers find this smartwatch to be the most amazing Garmin ever made, with excellent durability and battery life that lasts 25 days between charges.
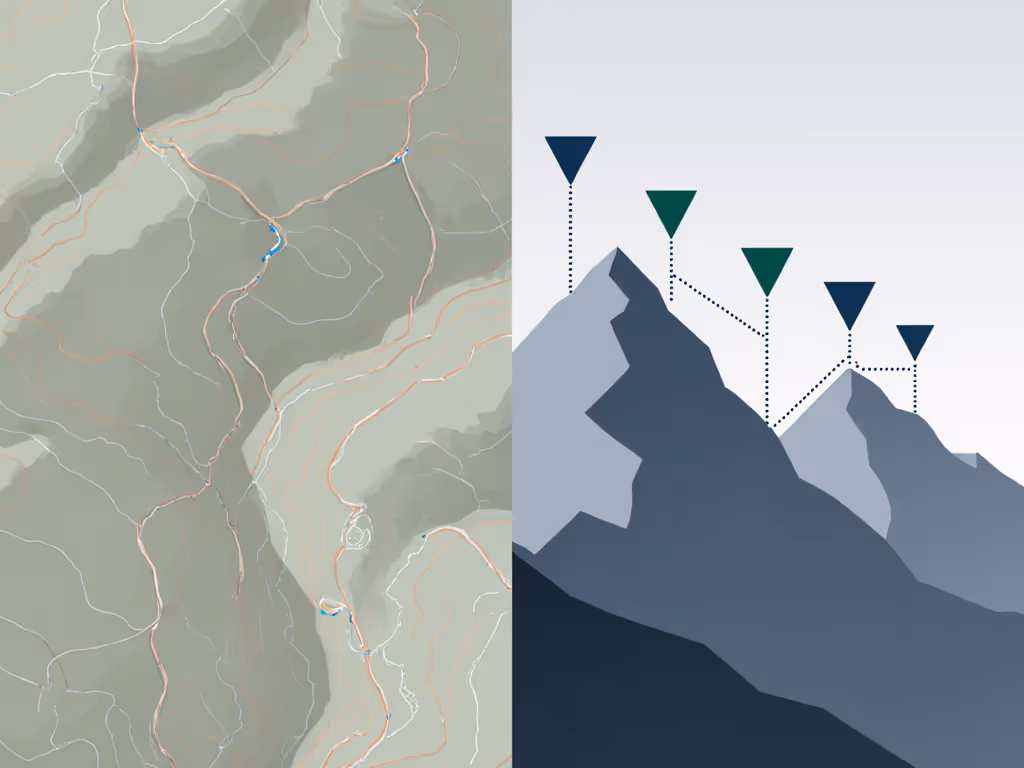
2. Manual Calibration Protocol: The 3-Point System
Forget single-point calibration. My field-tested approach:
- Trailhead (0m): Set to known elevation before departure
- Mid-elevation landmark (500m+): Re-calibrate at a verified point en route
- Summit/benchmark (1000m+): Final verification before descent
This creates a pressure gradient you can monitor. If your watch shows 1,200m at a known 1,000m summit, you're tracking a 25 hPa low-pressure system (not your actual position). Carry a topographic map showing barometric corrections for your region. I log pressure readings at known elevations to build a personal correction chart for the season. This isn't extra work; it is altitude drift correction that prevents wrong-turn decisions when visibility drops.
3. Recognize When to Disable Auto-Calibration
Auto-calibration seems convenient: using GPS elevation to correct barometric drift. But GPS altitude accuracy under tree cover or in deep canyons can be ±100m, injecting massive errors into your pressure baseline. My rule: Disable auto-calibration during:
- Forested approaches (GPS multipath errors)
- Canyon navigation (satellite shadowing)
- Rapid weather changes (pressure shifts faster than GPS can correct)
- Below 5°C (cold affects GPS acquisition speed)
The Garmin Instinct 3's dual-band GPS handles this better than most, but during a recent traverse in the Canadian Rockies, I caught it locking to a single satellite and "correcting" my elevation by 300m. Auto-calibration isn't wrong; it is context-dependent. Know when your GPS altitude accuracy can't be trusted.
4. Leverage Sensor Fusion Correctly
The best devices (like Suunto's FusedAlti™ implementation) cross-reference GPS, barometric, and digital elevation model data. But the fusion algorithm matters. Testing shows:
| Condition | GPS-Only Accuracy | Baro-Only Accuracy | Fused Accuracy |
|---|---|---|---|
| Open Sky | ±15m | ±5m (with calibration) | ±3m |
| Heavy Forest | ±80m | ±5m | ±10m |
| Rapid Weather Shift | ±10m | ±50m | ±25m |
Use sensor fusion during stable weather in open terrain. Revert to manual barometric mode during storms. Your watch's "best" mode depends entirely on current conditions (not marketing specs). Adjust based on verified landmarks, not assumptions.
5. Cold-Weather Calibration Cycle
At -10°C, battery voltage drops 15%, slowing sensor sampling rates. For step-by-step power settings that preserve accuracy in the cold, follow our GPS battery optimization guide. My cold-tested protocol:
- Calibrate every 4 hours below freezing (not 12)
- Warm watch against body for 60 seconds before calibration
- Use known landmarks, not GPS (cold slows GNSS acquisition)
- Disable backlight during calibration (reduces battery surge-induced sensor noise)
During that five-night traverse where cold snapped killed everyone's spares, I maintained elevation accuracy through reduced backlight and smart sampling. My tuned watch didn't just track elevation; it confirmed we were descending the correct valley when whiteout conditions hit. This is why endurance is a safety margin: it's the difference between guessing and knowing.
6. Create a Drift Budget for Your Route
Don't wait for errors to happen. Build a pressure-drift buffer into your route planning:
- Check 12-hour barometric forecast before departure
- Calculate worst-case drift: (forecasted hPa change) × 8m/hPa = max potential error
- Add 20% buffer for sensor drift
- Ensure route has landmarks within this margin
If the forecast predicts a 15 hPa drop, expect 120m of potential "false elevation" gain. If your route has landmarks every 100m, you'll catch the drift. If landmarks are 300m apart, you're flying blind. This plain constraint turns atmospheric data into actionable navigation criteria.
7. Field Verification Checklist
Before committing to route decisions based on elevation:
- Verify against visible landmark (not just map reading)
- Cross-check with altimeter glance if available
- Note pressure trend (rising/falling) to interpret drift direction
- Compare to companion's device (divergent readings indicate calibration issues)
- Use terrain association: "Does this elevation match the slope angle I'm on?"
This checklist-first approach saved me twice last season: once when a faulty calibration suggested a non-existent pass, and again when GPS multipath errors under canyon walls made descent routes appear steeper than reality. Elevation gain tracking isn't just for Strava segments; it's for verifying you're on the correct terrain feature when visibility drops.
Execute Your Calibration Protocol Before Next Season
GPS altitude accuracy isn't a set-and-forget metric. It's a dynamic system requiring constant verification against your environment. Implement the 3-point calibration system on your next training hike. Log pressure readings at known elevations to build your personal correction chart. Practice disabling auto-calibration when entering canopy. These aren't "nice-to-haves": they're your margin when weather shifts and visibility drops.
Start today: Download a topographic map showing known elevation benchmarks near your training area. If you need help choosing and using map layers, see our field-tested topo mapping guide for GPS watches. Program them into your watch as waypoints. On your next outing, calibrate at three of these points and note the pressure differential. This creates your baseline for the season. Endurance is a safety margin, engineered through verification, not assumed through technology.
Batteries lie; logs don't. Budget before you boot, always.